
Toyota Avensis 2006 Add new key/Key Cloning: Car Starts, Remote Doesn’t (Full Job)
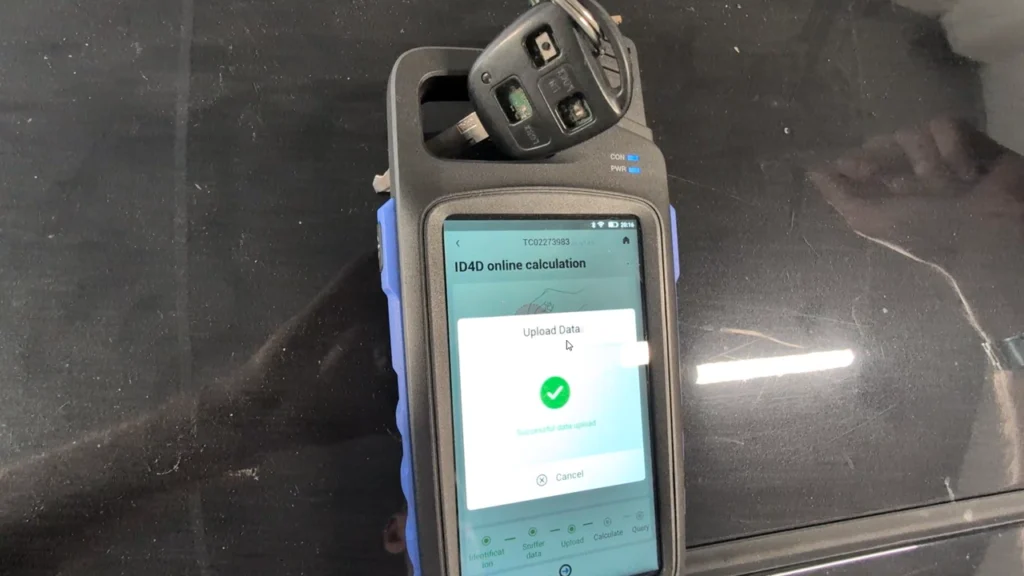

This guide shows how I cloned a working Toyota Avensis (AZT, 2006) key into a Mucar super chip after an AliExpress replacement key refused to program, and what happened with the remote that still wouldn’t work at the end.
I earn from qualifying purchases and sometimes get tools for free (full disclosure). It never affects my scoring.
Used tool in this guide
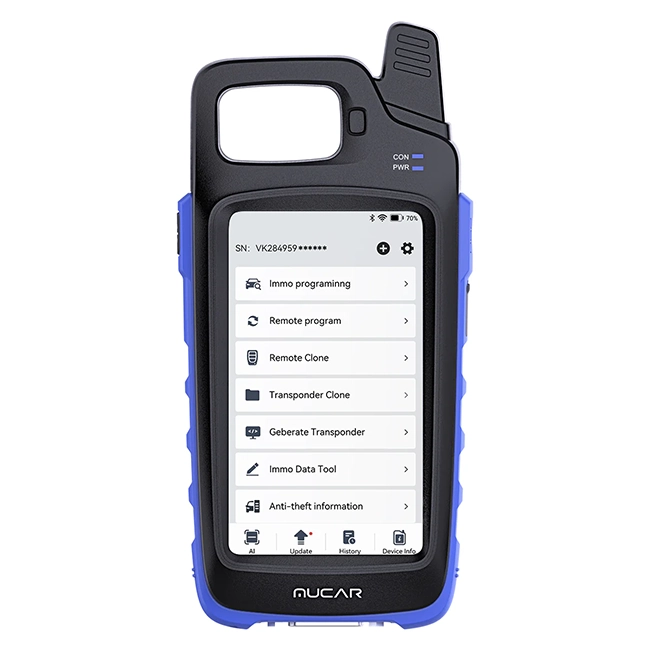
Replacement key I bought
https://s.click.aliexpress.com/e/_c3X2SEKl
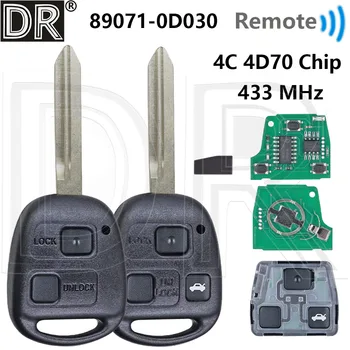
Mucar/Xhorse superchip set
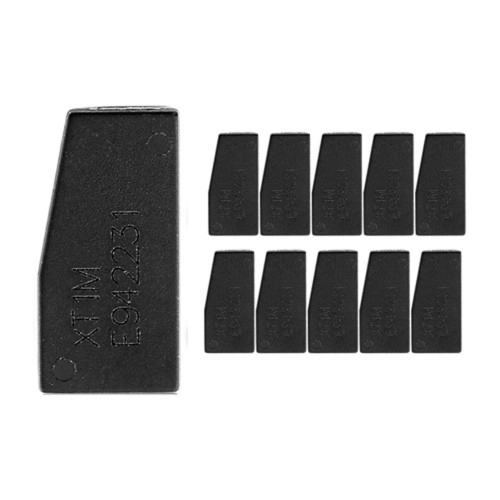
Buy superchip set here (10pcs)
Video: How to clone a Toyota Avensis 2006 key
This video shows the full job start to finish, including the parts that failed. I left those in on purpose so you can see exactly what I tried, which key I used, and why the remote never came alive even though the car starts.
Supported vehicles
| Vehicle |
|---|
| avensis-t25 |
Technical overview
| Item | Details |
|---|---|
| Vehicle | Toyota Avensis (AZT, T25) |
| Year | 2006 |
| System | 4D transponder immobilizer (DST40), separate RKE remote board |
| Procedure type | Transponder cloning (immobilizer only) |
| Difficulty | Easy to medium |
| Time required | ~20 minutes |
| Prerequisites | One working original key, a clone-capable tool, a Mucar super chip, a compatible key shell or remote head |
Step-by-step procedure
Before I got to cloning, I tried the easy routes first and both failed. I’m including them because this is how most of these jobs actually go.
What didn’t work first (worth knowing):
- I started with a brand new key ordered from AliExpress and tried to clone straight onto it with the Mucar 581. The write didn’t go through. AliExpress replacement keys are hit and miss, and this one wasn’t a proper match.
- Next I tried OBD “Add Key” with both Autel and XTool. Same result, no key learned. Most likely the AliExpress key was the wrong type or a low quality chip, which is the usual reason an add key fails on these.
So I went the route that always works on a fixed code 4D Toyota: clone the original key onto a Mucar super chip.
Cloning the original key (the part that worked):
- Open Transponder Clone on the Mucar and put the original key against the coil. Tap Read Transponder. It read the original as Chip type 4D, Clone status Cloneable, Password bit DST40. That status is what you want to see, it means this chip can be copied 1:1.
- The tool ran the ID4D online calculation. It went through Identification, Sniffer data, then Upload Data. I got “Successful data upload” with the green check.
- It then asked to query the calculation result. Calculate success came back, and it prompted me to put the clone chip (Mucar super chip) in the coil to write the data.
- I placed the Mucar super chip in the coil and let it write. It finished with “Calculate success” and “Copy successfully”. The chip is now a working clone of the original immobilizer transponder.
- I tapped Complete, took the super chip out, and dropped it into the new key shell.
- Tried to start the car. It started straight away. The immobilizer accepts the clone with no OBD step and no learning needed, exactly how a fixed code 4D clone should behave.
The remote (the part that didn’t work):
- The car starts, but the lock/unlock buttons on the new key do nothing. So I went into the manual remote learn procedure on the Avensis (the door open/close and key insert sequence). It didn’t complete.
- Here’s the interesting bit. The learn sequence failed at the step where the car is supposed to lock and unlock itself to confirm (step 8 in remote learning procedure). The car never did the confirm lock/unlock. I tried the exact same sequence with the original key too, and it also wouldn’t confirm, even though the original remote does work (a couple of its buttons are just broken off).
Remote manual learn procedure (did not work for me in this case)
- Open the driver door and remove the key from the ignition.
- Insert the key into the ignition and remove it twice within 5 seconds.
- Close and open the driver door twice within 40 seconds.
- Insert the key into the ignition and remove it again.
- Close and open the driver door twice within 40 seconds.
- Insert the key into the ignition and close the driver door.
- Turn the ignition from ON to OFF the right number of times for the mode you want: once = add mode, 2 times = reprogramming mode, 3 times = confirmation mode, 5 times = prohibition mode.
- Remove the key from the ignition. The car should now lock or unlock itself once to confirm it entered the mode, and 2, 3 or 5 times to show how many remotes are registered. This is the step that failed for me. The car never did the confirm lock/unlock for either key.
- Within 40 seconds, press and hold the lock and unlock buttons together for 2 seconds.
- Press the lock button within 3 seconds.
- The car locks and unlocks once to confirm the remote registered. If it locks and unlocks twice, registration failed.
Note: this method is only for vehicles without a keyless entry system.
Result: the key clone is a full success, the car starts perfectly. The remote is the open question. The car simply wasn’t entering or completing the remote programming mode for either key, so I couldn’t pair the new remote.
Additional Information & Compatibility Notes
Before using or purchasing any diagnostic tool for this procedure, always verify compatibility with your exact vehicle model, year and system configuration. Supported functions may vary depending on software version, hardware revision and regional limitations.
Alternative tools
Legal & safety notice
This procedure modifies vehicle system settings through the control module. Incorrect use may cause faults or warning lights. Always ensure the vehicle is secured and follow proper safety procedures.
More procedures like this
 How to Read the Immo Code (Car Pass) from an Opel / Vauxhall Immo 2
 Opel Corsa C 2006 Key Programming steps with Opcom
 How to Add a Key / Perform AKL on BMW E46
 Honda FRV 2006 Key programming / Add new key
Most popular OBD2 guides



Hi, I am Juraj Lukacko. I got frustrated by unhelpful and scammy mechanics, so I decided to learn everything about car diagnostics myself. I test dozens of new car diagnostic tools every month along with learning new strategies to fix and customize cars.
Responses