The P265A: B Rocker Arm Actuator Position Sensor Circuit Bank 1 code indicates a problem in the rocker arm actuator position sensor circuit for actuator ‘B’ on Bank 1. The position sensor is vital for monitoring the movement of the rocker arm, which ensures proper valve timing. A malfunctioning sensor or circuit can cause incorrect timing, reducing engine efficiency and performance.
P265A – Quick Overview
| Code | Information |
|---|---|
| Meaning | P265A: B Rocker Arm Actuator Position Sensor Circuit Bank 1 |
| Is it serious? | Yes, as an issue with the position sensor can lead to incorrect valve timing, reducing engine performance, causing rough idling, and potentially increasing emissions. |
| Possible causes | – Faulty rocker arm actuator position sensor – Issues with the position sensor circuit – Wiring or connector problems |
| How to diagnose? | – Test the rocker arm actuator position sensor – Inspect the sensor circuit and wiring – Check for faults or damage in connectors – Replace faulty components if necessary |
P265A Meaning
The P265A: B Rocker Arm Actuator Position Sensor Circuit Bank 1 code indicates that there is a fault in the rocker arm actuator position sensor or its circuit for Bank 1. The position sensor provides critical information about the position of the rocker arm, which the engine control module (ECM) uses to control valve timing effectively. Any issues with this sensor or the associated circuitry can lead to incorrect valve timing, affecting engine power output and efficiency.
Step-by-step diagnostic guide
| Action | Description | Tools Needed |
|---|---|---|
| Check for Other Codes | Use an OBD-II scanner to see if there are any other related codes present. These codes can help in diagnosing broader issues affecting the valve timing or actuator system. | OBD-II Scanner |
| Test the Rocker Arm Actuator Position Sensor | Use a diagnostic tool to measure the output from the rocker arm actuator position sensor. Verify that the sensor output matches the expected values based on the actuator’s position. | Diagnostic Tool, Multimeter |
| Inspect Sensor Circuit and Wiring | Visually inspect the wiring and circuit leading to the position sensor. Look for any obvious signs of wear, such as frayed wires, broken insulation, or disconnected components. Repair or replace any damaged sections. | Flashlight, Safety Gloves |
| Check Connectors for Faults or Damage | Inspect all connectors related to the position sensor circuit. Ensure that there are no loose or corroded connections and that all connectors are properly attached. Replace or clean connectors as necessary. | Flashlight, Multimeter |
| Test Circuit Continuity | Use a multimeter to check the continuity of the wiring in the sensor circuit to ensure that there are no open circuits or high resistance, which could indicate a break in the wiring. | Multimeter |
| Replace Faulty Components | Replace any faulty components identified during testing, such as the position sensor, connectors, or damaged wiring. Ensure replacement components meet manufacturer specifications and are properly installed. | Replacement Parts |
| Clear the Code and Test Drive | After making repairs, use an OBD-II scanner to clear the P265A code. Start the engine and take it for a test drive to verify that the position sensor is functioning correctly and the issue is resolved. | OBD-II Scanner, Vehicle Owner’s Manual |
| Recheck for Codes | Re-scan the vehicle to ensure that the P265A code has been successfully cleared. If the code reappears, further diagnostics will be necessary to identify and address any remaining or underlying issues. | OBD-II Scanner |
Free PDF: How to choose OBD2 scanner
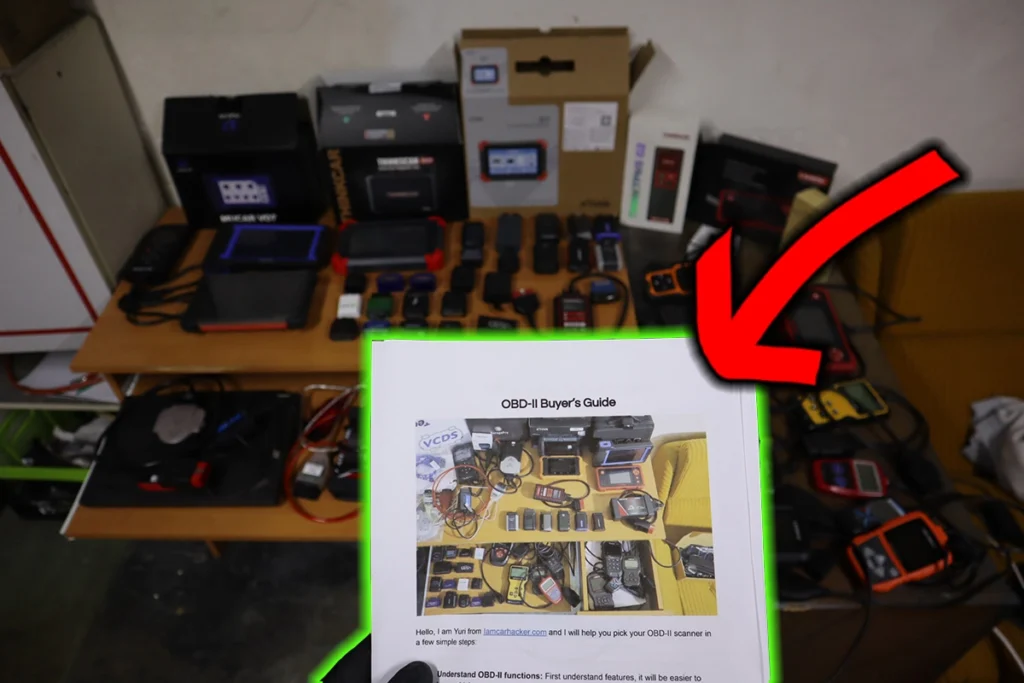
I’ve made you a free PDF to choose the OBD2 scanner in 5 minutes.
✅ Which OBD2 scanner is best?
✅ Which type should you get (DIY, Pro, Hobby)
✅ What is the best scanner for the exact brand/feature (e.g best for BMW)
✅ How to get a Bi-Directional tool for as cheap as $40
✅ Discount coupons for scanners
PDF is 100% free and it is designed to help you pick a scanner in less than a few minutes! Not a boring 50-page guide.
Just tell me where to send it.

Hi, I am Juraj “Yuri” Lukacko. I got frustrated by unhelpful and scammy mechanics, so I decided to learn everything about car diagnostics myself. I test dozens of new car diagnostic tools every month along with learning new strategies to fix and customize cars. About Juraj Lukacko (Yuri)