The P2527: Vacuum Reservoir Pressure Sensor Circuit Low code refers to an issue where the vacuum reservoir pressure sensor is receiving a lower-than-expected voltage. This could be caused by a faulty sensor, insufficient power supply, or problems with wiring or connectors in the circuit. This condition can impact the systems that rely on vacuum pressure for optimal performance, such as the brake booster or emissions control systems.
P2527 – Quick Overview
| Code | Information |
|---|---|
| Meaning | P2527: Vacuum Reservoir Pressure Sensor Circuit Low |
| Is it serious? | Moderately serious. Low voltage can result in improper vacuum pressure readings, affecting safety-related systems like brakes or emissions control. |
| Possible causes | – Low voltage in the vacuum reservoir pressure sensor circuit – Faulty vacuum reservoir pressure sensor – Wiring or connector issues |
| How to diagnose? | – Measure the voltage in the vacuum reservoir pressure sensor circuit – Inspect and test the sensor and wiring – Replace faulty components if needed |
Code Meaning
The P2527: Vacuum Reservoir Pressure Sensor Circuit Low code means that the voltage being sent to or from the vacuum reservoir pressure sensor is below the acceptable range. This low voltage could be caused by issues like a poor power supply, faulty connections, or a malfunctioning sensor. An inadequate voltage may prevent the sensor from properly monitoring vacuum levels, which can negatively affect vehicle components that rely on precise vacuum control.
Step-by-step diagnostic guide
| Action | Description | Tools Needed |
|---|---|---|
| Check for Other Codes | Use an OBD-II scanner to check if there are any additional related codes. These might provide more context about potential issues affecting the vacuum control system. | OBD-II Scanner |
| Measure Voltage in the Vacuum Reservoir Pressure Sensor Circuit | Use a multimeter to measure the voltage in the vacuum reservoir pressure sensor circuit. Compare the readings with the manufacturer’s specifications to determine if the voltage is too low. | Multimeter |
| Inspect the Vacuum Reservoir Pressure Sensor | Visually inspect the sensor for any visible damage or signs of wear. Check for physical damage such as cracks, loose mounts, or dirt accumulation that might affect its operation. | Flashlight, Safety Gloves |
| Check Wiring and Connectors | Inspect the wiring and connectors associated with the vacuum reservoir pressure sensor. Look for loose or corroded connectors, frayed wires, or damaged insulation that could lead to a voltage drop. Repair or replace any damaged components as necessary. | Flashlight, Multimeter |
| Test the Vacuum Reservoir Pressure Sensor | Use a diagnostic tool or multimeter to test the sensor itself. Ensure that it is providing a signal within the acceptable range. If the sensor output is inconsistent or lower than specified, it may need to be replaced. | Multimeter, Diagnostic Tool |
| Verify Voltage Supply and Ground | Ensure that the sensor is receiving the correct voltage supply and that the ground connection is secure. Any interruption in power or ground can cause a low voltage reading. Use a multimeter to verify these connections. | Multimeter |
| Inspect for Vacuum Leaks | Inspect the vacuum lines for any leaks or disconnections that may affect the vacuum level being monitored. Leaks can lead to low vacuum pressure and cause incorrect sensor readings. | Vacuum Gauge |
| Replace Faulty Components | Replace any faulty components identified during the diagnostic process, including the sensor, connectors, or wiring. Make sure all replacement parts meet OEM specifications to maintain system integrity. | Replacement Parts, Vehicle Owner’s Manual |
| Clear the Code and Test the System | After repairs are made, clear the P2527 code using an OBD-II scanner. Start the vehicle and monitor the sensor data to verify that the vacuum reservoir pressure readings are within the correct range. | OBD-II Scanner, Vehicle Owner’s Manual |
| Recheck for Codes | Re-scan the vehicle to confirm that the P2527 code has not returned. If the code reappears, further diagnostics may be necessary to find any underlying issues. | OBD-II Scanner |
Free PDF: How to choose OBD2 scanner
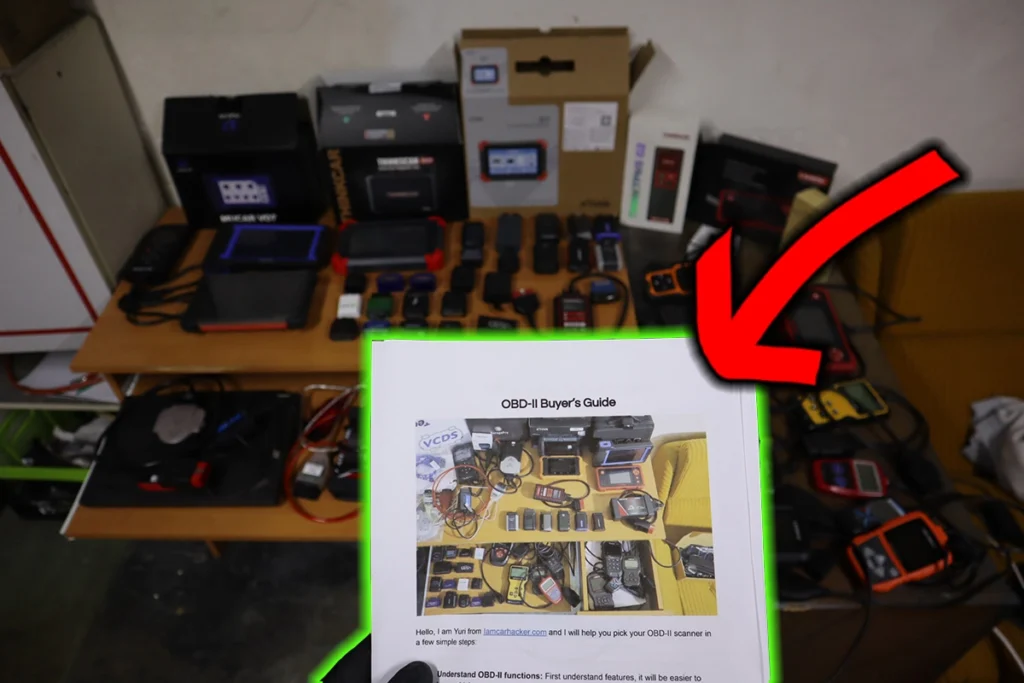
I’ve made you a free PDF to choose the OBD2 scanner in 5 minutes.
✅ Which OBD2 scanner is best?
✅ Which type should you get (DIY, Pro, Hobby)
✅ What is the best scanner for the exact brand/feature (e.g best for BMW)
✅ How to get a Bi-Directional tool for as cheap as $40
✅ Discount coupons for scanners
PDF is 100% free and it is designed to help you pick a scanner in less than a few minutes! Not a boring 50-page guide.
Just tell me where to send it.

Hi, I am Juraj “Yuri” Lukacko. I got frustrated by unhelpful and scammy mechanics, so I decided to learn everything about car diagnostics myself. I test dozens of new car diagnostic tools every month along with learning new strategies to fix and customize cars. About Juraj Lukacko (Yuri)