The P0A89: 14 Volt Power Module Current Sensor Circuit High fault code indicates that the current sensor in the 14-volt power module is reporting a higher-than-expected current reading. This can be caused by a faulty sensor, wiring issues, or a signal processing problem within the control system.
P0A89 – Quick Overview
| Code | Information |
|---|---|
| Meaning | P0A89: 14 Volt Power Module Current Sensor Circuit High |
| Is it serious? | Moderate; high current readings may affect the vehicle’s power management, potentially leading to overcharging or electrical issues. |
| Possible causes | – High current sensor circuit reading – Faulty current sensor – Signal processing issue |
| How to diagnose? | – Measure current sensor circuit reading – Test current sensor operation – Inspect signal processing module |
P0A89 Meaning
The P0A89: 14 Volt Power Module Current Sensor Circuit High code indicates that the current sensor is detecting a current that exceeds the expected range. This could interfere with the vehicle’s ability to monitor power flow accurately, potentially leading to issues such as overcharging or power module failure. The issue could stem from a faulty sensor, wiring problems, or errors in the signal processing module.
Step-by-step diagnostic guide
| Action | Description | Tools Needed |
|---|---|---|
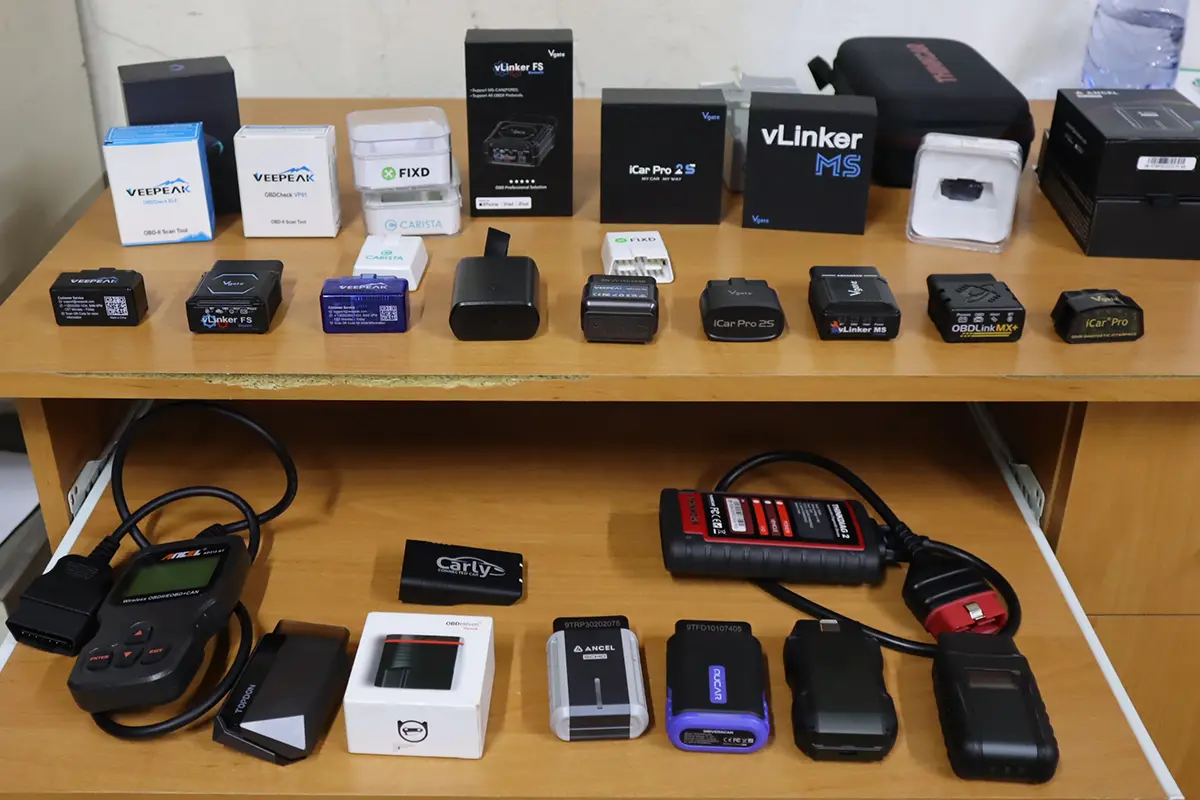
| Check for Other Codes | Use an OBD-II scanner to check for any related fault codes that might provide further insight into the sensor circuit or power module. | OBD-II Scanner |
| Measure Current Sensor Circuit Reading | Use a multimeter to measure the current sensor circuit output. Compare the readings to the manufacturer’s specifications to verify whether the current is too high. | Multimeter |
| Test Current Sensor Operation | Perform a functional test on the current sensor to ensure it is detecting current levels properly. A faulty sensor may give abnormally high readings. | Diagnostic Tool, Multimeter |
| Inspect Signal Processing Module | Check the signal processing module to ensure it is interpreting the sensor data correctly. A malfunction in the processing module could lead to incorrect current readings. | Diagnostic Tool |
| Inspect Wiring for Faults | Visually inspect the wiring for the current sensor to ensure there are no signs of wear, damage, or disconnections that could cause inaccurate readings. | Flashlight, Multimeter |
| Test Grounding and Connections | Ensure that the current sensor and signal processing module are properly grounded, as poor grounding can lead to incorrect sensor outputs. | Flashlight, Multimeter |
| Replace Faulty Components | If the current sensor, wiring, or signal processing module are found to be defective, replace the necessary components to restore accurate current monitoring. | Replacement Parts as Needed |
| Clear the Code and Test Drive | After completing repairs, clear the fault code using an OBD-II scanner and take the vehicle for a test drive to confirm the issue is resolved. | OBD-II Scanner |
| Recheck for Codes | After the test drive, re-scan the vehicle to ensure the P0A89 code does not return. | OBD-II Scanner |

OBD-II scanner Buyer’s Guide
- Scanner features explained
- Different types of scanners
- Scanners for coding/odometer/ECU/checks
- Best picks + discount codes

Hi, I am Juraj “Yuri” Lukacko. I got frustrated by unhelpful and scammy mechanics, so I decided to learn everything about car diagnostics myself. I test dozens of new car diagnostic tools every month along with learning new strategies to fix and customize cars. About Juraj Lukacko (Yuri)