The P0A88: 14 Volt Power Module Current Sensor Circuit Low fault code indicates that the current sensor in the 14-volt power module is reporting a lower-than-expected current reading. This can be caused by a faulty sensor, wiring issues, or a problem in the sensor circuit.
P0A88 – Quick Overview
| Code | Information |
|---|---|
| Meaning | P0A88: 14 Volt Power Module Current Sensor Circuit Low |
| Is it serious? | Moderate; a low current reading may affect the vehicle’s ability to regulate and monitor electrical systems properly. |
| Possible causes | – Low current sensor circuit reading – Faulty current sensor – Wiring issue |
| How to diagnose? | – Measure current sensor circuit reading – Test current sensor functionality – Inspect wiring for faults |
P0A88 Meaning
The P0A88: 14 Volt Power Module Current Sensor Circuit Low code indicates that the current sensor circuit is reporting a low current reading, which can prevent proper power distribution and monitoring. This issue may stem from a faulty sensor, broken or damaged wiring, or other circuit problems.
Step-by-step diagnostic guide
| Action | Description | Tools Needed |
|---|---|---|
| Check for Other Codes | Use an OBD-II scanner to check for any related fault codes that may provide more context about the power module or sensor circuit. | OBD-II Scanner |
| Measure Current Sensor Circuit Reading | Use a multimeter to measure the current sensor circuit output and compare it to the manufacturer’s specifications. Ensure the sensor is functioning within the expected range. | Multimeter |
| Test Current Sensor Functionality | Perform a functional test on the current sensor to ensure it is accurately detecting current levels and is not faulty. | Diagnostic Tool, Multimeter |
| Inspect Wiring for Faults | Visually inspect the wiring connected to the current sensor for signs of wear, damage, or disconnection. Replace any damaged wiring or faulty connections. | Flashlight, Multimeter |
| Inspect Power Module for Issues | Check the 14-volt power module for any signs of malfunction or overheating that may cause incorrect current readings. | Flashlight |
| Test Grounding and Connections | Verify that the current sensor and power module are properly grounded and that all connections are secure. Poor grounding can lead to low circuit readings. | Flashlight, Multimeter |
| Replace Faulty Components | If the current sensor, wiring, or power module are found to be defective, replace the necessary components to restore proper function. | Replacement Parts as Needed |
| Clear the Code and Test Drive | After completing repairs, clear the fault code using an OBD-II scanner and take the vehicle for a test drive to verify that the issue is resolved. | OBD-II Scanner |
| Recheck for Codes | After the test drive, re-scan the vehicle to ensure the P0A88 code does not return. | OBD-II Scanner |

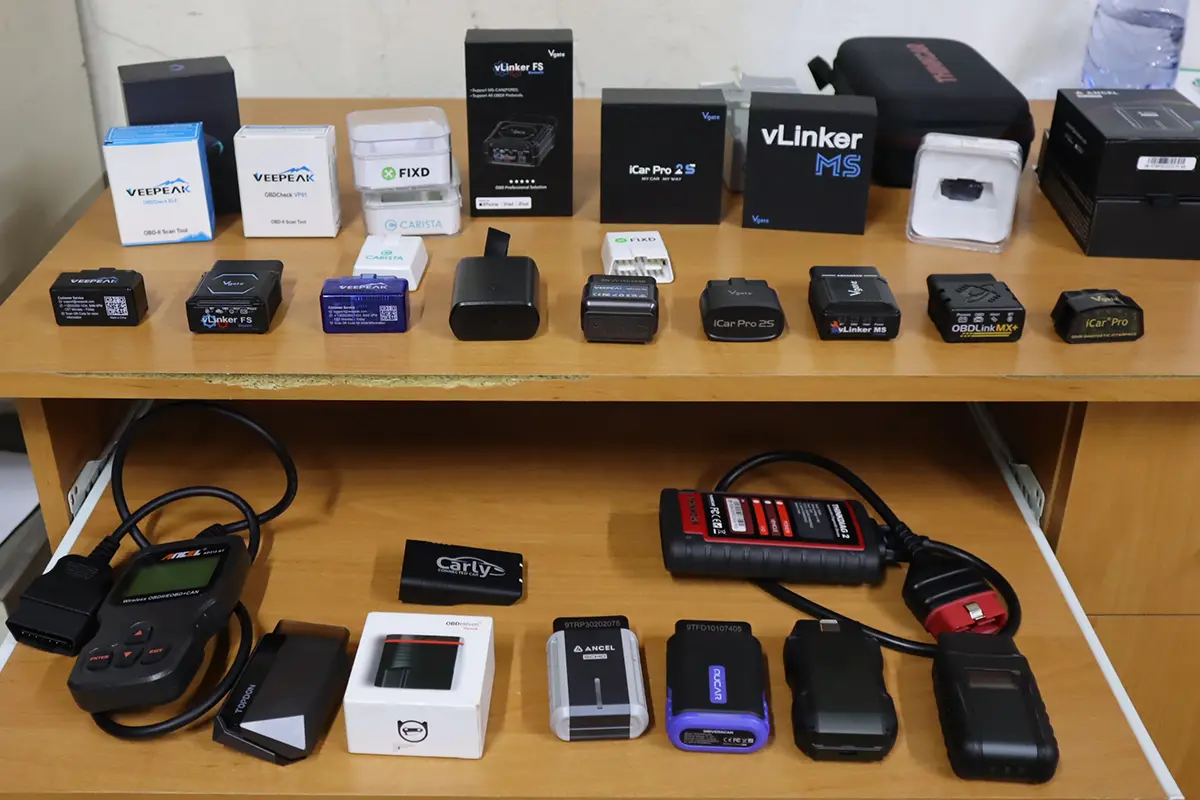
OBD-II scanner Buyer’s Guide
- Scanner features explained
- Different types of scanners
- Scanners for coding/odometer/ECU/checks
- Best picks + discount codes
I test OBD-II scanners and make DIY Engine diagnostics guides to help you solve your car problems without having to depend on the mechanic. A lot of them will try to scam you or are just no help at all. About Juraj Lukacko