The P0A53: Drive Motor “A” Current Sensor Circuit Low refers to an issue where the current sensor for drive motor “A” is providing a signal that is too low. This can be caused by a low voltage signal, a faulty sensor, or wiring problems that affect the sensor’s output.
P0A53 – Quick Overview
| Code | Information |
|---|---|
| Meaning | P0A53: Drive Motor “A” Current Sensor Circuit Low |
| Is it serious? | Yes, as this can lead to improper functioning of the drive motor, resulting in reduced vehicle performance or a failure to engage the motor. |
| Possible causes | – Low signal from drive motor A current sensor – Faulty drive motor A current sensor – Faulty wiring |
| How to diagnose? | – Measure signal voltage from drive motor A current sensor – Test drive motor A current sensor functionality – Inspect wiring for faults |
P0A53 Meaning
The P0A53: Drive Motor “A” Current Sensor Circuit Low code means that the current sensor for drive motor “A” is providing a signal lower than expected. This could cause incorrect readings of the motor’s current, leading to issues with the vehicle’s electric drive system. The low signal could result from a faulty sensor, poor wiring, or a low voltage supply.
Step-by-step diagnostic guide
| Action | Description | Tools Needed |
|---|---|---|
| Check for Other Codes | Use an OBD-II scanner to determine if any other related codes are present. These could provide further information about the issue. | OBD-II Scanner |
| Measure Signal Voltage | Use a multimeter to measure the voltage output from the drive motor A current sensor. Compare the readings to the manufacturer’s specifications for expected voltage levels. | Multimeter |
| Test Drive Motor A Current Sensor | Test the functionality of the drive motor A current sensor to ensure it is operating correctly and within the specified range. | Multimeter, Diagnostic Tool |
| Inspect Wiring | Visually inspect the wiring connected to the drive motor A current sensor for signs of damage, loose connections, or corrosion. Repair or replace as needed. | Flashlight, Multimeter |
| Check for Grounding Issues | Ensure there is no issue with the sensor’s ground connection, which could result in low signal voltage. | Multimeter, Flashlight |
| Clear the Code and Test Drive | After making repairs, clear the code using an OBD-II scanner and perform a test drive to verify that the issue is resolved. | OBD-II Scanner |
| Recheck for Codes | After the test drive, scan the vehicle again to ensure the P0A53 code has not returned. | OBD-II Scanner |

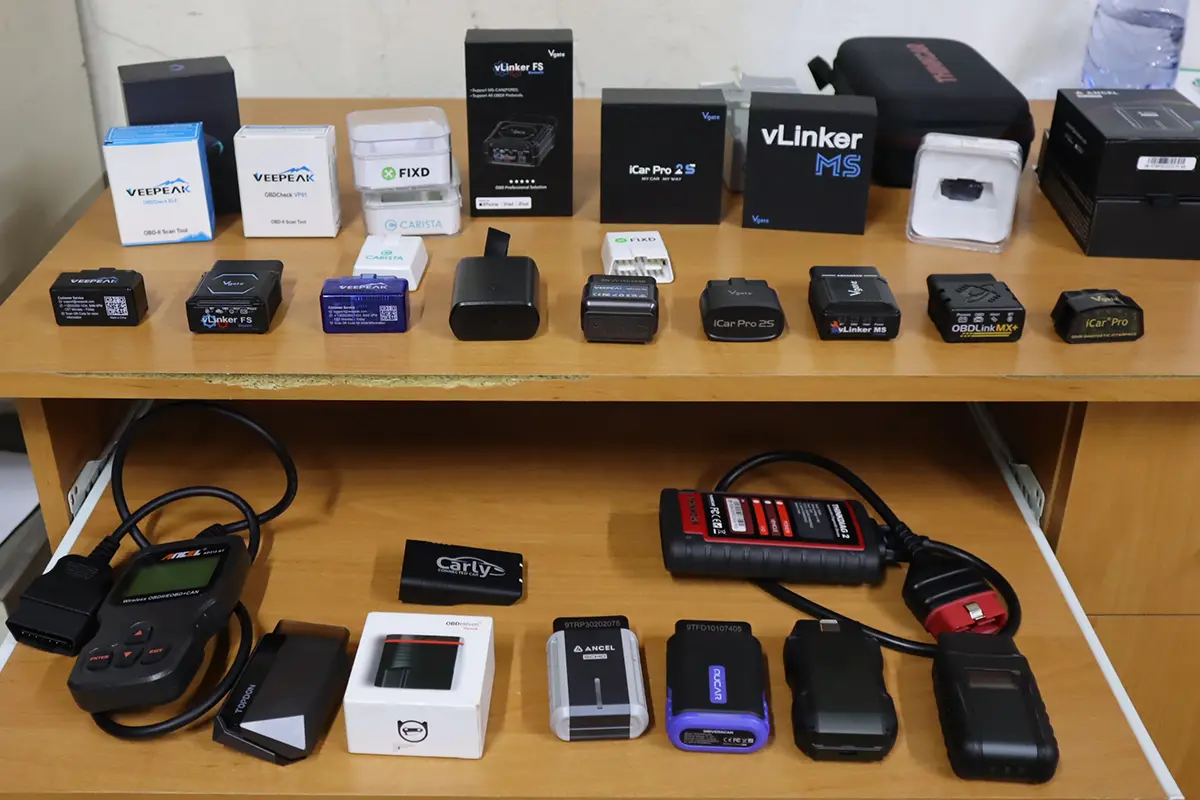
OBD-II scanner Buyer’s Guide
- Scanner features explained
- Different types of scanners
- Scanners for coding/odometer/ECU/checks
- Best picks + discount codes

Hi, I am Juraj “Yuri” Lukacko. I got frustrated by unhelpful and scammy mechanics, so I decided to learn everything about car diagnostics myself. I test dozens of new car diagnostic tools every month along with learning new strategies to fix and customize cars. About Juraj Lukacko (Yuri)