The diagnostic trouble code P0043: HO2S Heater Control Circuit Low (Bank 1 Sensor 3) is triggered when a low voltage condition is detected in the heater control circuit of the oxygen sensor in Bank 1 Sensor 3. This can lead to poor engine performance and increased emissions, typically resulting from a short circuit, faulty sensor heater, or ECM issues.
P0043 quick overview
| Meaning | P0043: HO2S Heater Control Circuit Low (Bank 1 Sensor 3) |
| Is it serious? | Yes, as it can affect the sensor’s ability to regulate fuel mixture properly. |
| Possible causes | – Short to ground in the heater circuit wiring – Faulty oxygen sensor heater – Poor electrical connection in the heater circuit – Faulty ECM |
| How to diagnose? | Scan for Codes: Confirm P0043 with an OBD-II scanner. Visual Inspection: Inspect wiring and connectors for shorts to ground. Voltage Testing: Measure the voltage in the heater circuit. Sensor Testing: Check the oxygen sensor heater resistance. ECM Testing: Evaluate ECM outputs to the heater circuit if necessary. |
| What is Bank 1 Sensor 3? | This is 3rd sensor from the engine to the exhaust for engine head 1. Read the full Bank1 vs Bank2 explanation. |
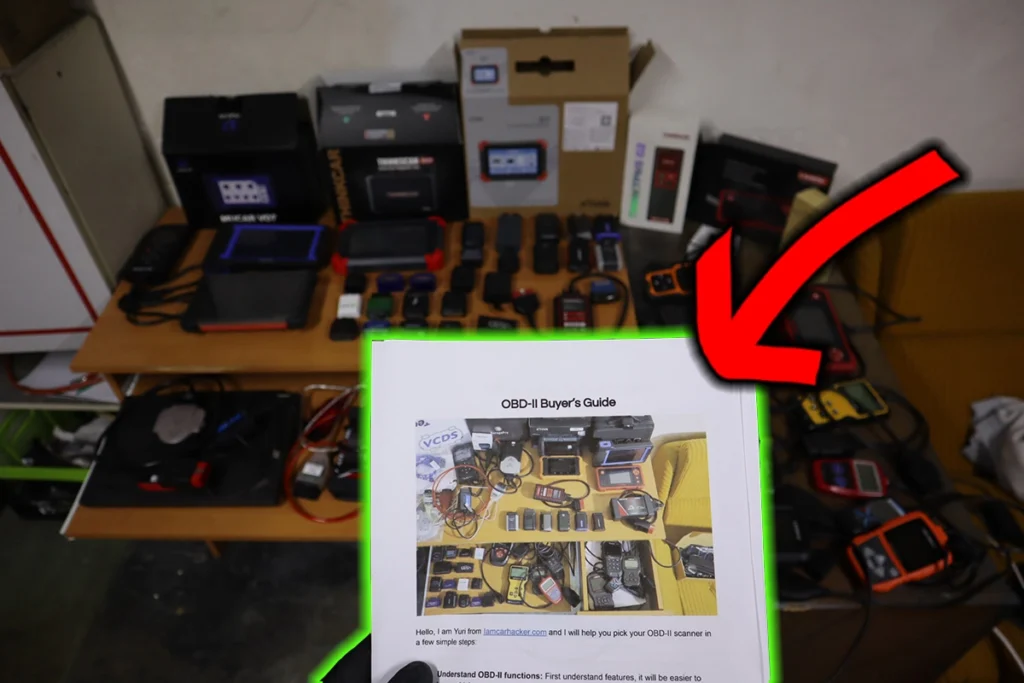
Free PDF: How to choose OBD2 scanner

I’ve made you a free PDF to choose the OBD2 scanner in 5 minutes.
✅ Which OBD2 scanner is best?
✅ Which type should you get (DIY, Pro, Hobby)
✅ What is the best scanner for the exact brand/feature (e.g best for BMW)
✅ How to get a Bi-Directional tool for as cheap as $40
✅ Discount coupons for scanners
PDF is 100% free and it is designed to help you pick a scanner in less than a few minutes! Not a boring 50-page guide.
Just tell me where to send it.
How to fix P0043 – learn from mechanics
I looked into P0043 service cases at iatn.com website where in the private forums the mechanics seek advice from other mechanics. I usually dig up several service cases for each trouble code, but sensor 3 isn’t common and there weren’t almost any records.
However, I was able to dig up some advice coming from real mechanics by finding other cases where faults for sensor 3 were also present.
How to diagnose P0043
I made you an overview of solving this DTC, based on all the advice that was suggested by certified mechanics to address this issue in previously mentioned service cases.
| iagnostic Advice | Description of Diagnostic Step |
|---|---|
| Scan for Additional Codes | Use an OBD-II scanner to check for additional codes that might provide more insight into the underlying issue. |
| Visual Inspection | Inspect the oxygen sensor and its wiring for any visible signs of damage, corrosion, or disconnection. |
| Check for Exhaust Leaks | Inspect the exhaust system for leaks, as they can affect the oxygen sensor’s readings. |
| Test the Heater Circuit | Use a multimeter to test the heater circuit for continuity, shorts, and proper resistance. |
| Measure Sensor Voltage/Signal | Check the oxygen sensor’s output voltage or signal to ensure it’s within the expected range. |
| Evaluate Electrical Connections | Ensure all electrical connections related to the oxygen sensor are secure and free of corrosion. |
| Test the Sensor’s Response Time | Use a scan tool to monitor the oxygen sensor’s response time to changes in the fuel mixture. |
| Check the ECM’s Outputs | If necessary, test the Engine Control Module’s (ECM) outputs to the oxygen sensor to ensure proper communication. |
| Replace Faulty Components | If a faulty oxygen sensor or damaged wiring is identified, replace the necessary components. |
| Clear Codes and Test Drive | After repairs, clear the codes with an OBD-II scanner and take the vehicle for a test drive to ensure the issue is resolved. |
Free PDF: How to choose OBD2 scanner

I’ve made you a free PDF to choose the OBD2 scanner in 5 minutes.
✅ Which OBD2 scanner is best?
✅ Which type should you get (DIY, Pro, Hobby)
✅ What is the best scanner for the exact brand/feature (e.g best for BMW)
✅ How to get a Bi-Directional tool for as cheap as $40
✅ Discount coupons for scanners
PDF is 100% free and it is designed to help you pick a scanner in less than a few minutes! Not a boring 50-page guide.
Just tell me where to send it.

Hi, I am Juraj “Yuri” Lukacko. I got frustrated by unhelpful and scammy mechanics, so I decided to learn everything about car diagnostics myself. I test dozens of new car diagnostic tools every month along with learning new strategies to fix and customize cars. About Juraj Lukacko (Yuri)