The P2585: Fuel Additive Control Module Warning Lamp Request code indicates that the fuel additive control module has requested a warning lamp illumination. This is usually due to a fault within the fuel additive system or an issue with the control module itself. The fuel additive system is important for reducing emissions by ensuring the proper functioning of components such as the diesel particulate filter (DPF).
P2585 – Quick Overview
| Code | Information |
|---|---|
| Meaning | P2585: Fuel Additive Control Module Warning Lamp Request |
| Is it serious? | Moderate, as issues with the fuel additive system can lead to DPF clogging and increased emissions, potentially affecting vehicle performance and causing further damage if not addressed. |
| Possible causes | – Fuel additive control module requesting a warning lamp – Issues with the fuel additive control module – Faulty fuel additive system components |
| How to diagnose? | – Inspect the fuel additive control module – Check the fuel additive system for faults – Test and replace faulty components if needed |
P2585 Meaning
The P2585: Fuel Additive Control Module Warning Lamp Request code is triggered when the fuel additive control module detects a problem significant enough to request the illumination of the warning lamp. This indicates a need for immediate attention to the fuel additive system. The fuel additive system, typically found in diesel vehicles, is designed to add a special fluid to lower the combustion temperature of particulate matter in the DPF. If the system fails, it can lead to blockages and increased emissions.
Step-by-step diagnostic guide
| Action | Description | Tools Needed |
|---|---|---|
| Check for Other Related Codes | Use an OBD-II scanner to determine if there are other fault codes related to the fuel additive or DPF system. These additional codes may help pinpoint specific issues within the system. | OBD-II Scanner |
| Inspect the Fuel Additive Control Module | Visually inspect the fuel additive control module for signs of physical damage, such as overheating, corrosion, or disconnection. Verify that all connectors are securely attached. | Flashlight, Safety Gloves |
| Check the Fuel Additive System | Inspect the entire fuel additive system, including the pump, sensors, and additive tank. Look for leaks, physical damage, or blockages that could be preventing the system from operating correctly. | Flashlight, Inspection Mirror |
| Test the Fuel Additive Control Module | Use a diagnostic tool to monitor live data from the fuel additive control module. Check whether it is sending and receiving the correct signals to manage the injection of the additive. This includes ensuring the module activates the warning lamp appropriately. | Diagnostic Tool |
| Inspect Wiring and Connectors | Check the wiring and connectors related to the fuel additive system for continuity, shorts, or corrosion. Any fault in the wiring can cause the control module to inaccurately detect faults and request a warning lamp. | Multimeter, Flashlight |
| Repair or Replace Faulty Wiring/Connectors | If any issues are found in the wiring or connectors, repair or replace as needed. Ensure that all connections are tight and corrosion-free to maintain proper electrical continuity. | Basic Tools, Replacement Parts |
| Replace Faulty Components | If any component, such as the additive pump, sensors, or the control module itself, is found to be defective, replace it. Ensure that the new component is correctly installed and calibrated for optimal operation. | Replacement Additive System Components |
| Refill the Fuel Additive Tank | If the fuel additive level is low, refill the additive tank with the appropriate fluid specified by the manufacturer. Low levels can trigger a warning lamp request. | Fuel Additive Refill |
| Clear the Code and Test System | After completing repairs, use an OBD-II scanner to clear the fault code. Start the engine and let it run to verify that the warning lamp does not come back on. Monitor the fuel additive system for proper function during operation. | OBD-II Scanner, Vehicle Owner’s Manual |
| Recheck for Codes | Re-scan the vehicle with the OBD-II scanner to ensure that the P2585 code has been cleared. If the code persists, further diagnostics will be needed to identify any remaining or additional issues. | OBD-II Scanner |
Free PDF: How to choose OBD2 scanner
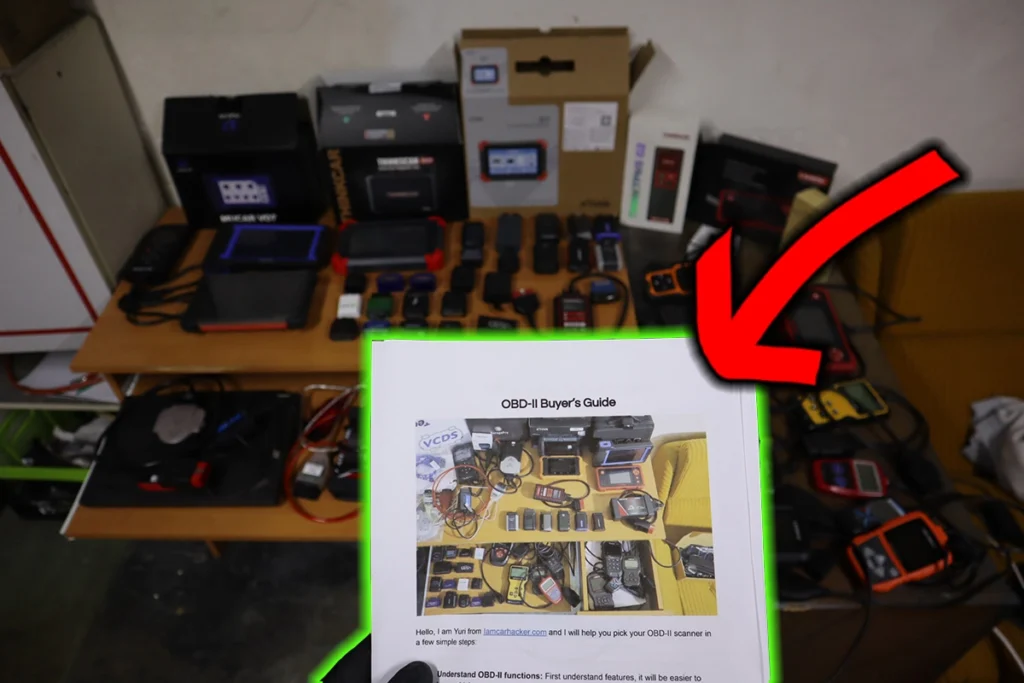
I’ve made you a free PDF to choose the OBD2 scanner in 5 minutes.
✅ Which OBD2 scanner is best?
✅ Which type should you get (DIY, Pro, Hobby)
✅ What is the best scanner for the exact brand/feature (e.g best for BMW)
✅ How to get a Bi-Directional tool for as cheap as $40
✅ Discount coupons for scanners
PDF is 100% free and it is designed to help you pick a scanner in less than a few minutes! Not a boring 50-page guide.
Just tell me where to send it.

Hi, I am Juraj “Yuri” Lukacko. I got frustrated by unhelpful and scammy mechanics, so I decided to learn everything about car diagnostics myself. I test dozens of new car diagnostic tools every month along with learning new strategies to fix and customize cars. About Juraj Lukacko (Yuri)