How to use OBD2 scanner: Beginner’s GUIDE

Are you trying to figure out how to use the OBD2 scanner that you just bought? This guide will cover everything the beginner needs to know about using OBD scan tools. I know how clueless I was when I tried to use my first scan tool, there weren’t really any guides on the internet, so I just had to figure it out by myself.
VIDEO: Full introduction to OBD2
How to connect the OBD scan tool?
Let’s start with the most obvious: connecting our scanner to the vehicle. I also want to point out that the scanner doesn’t really go into your vehicle sensors and control modules to gather those data. It just reads the data that are already stored by your OBD2 (onboard vehicle diagnostic II) system.
1. Locate the OBD port
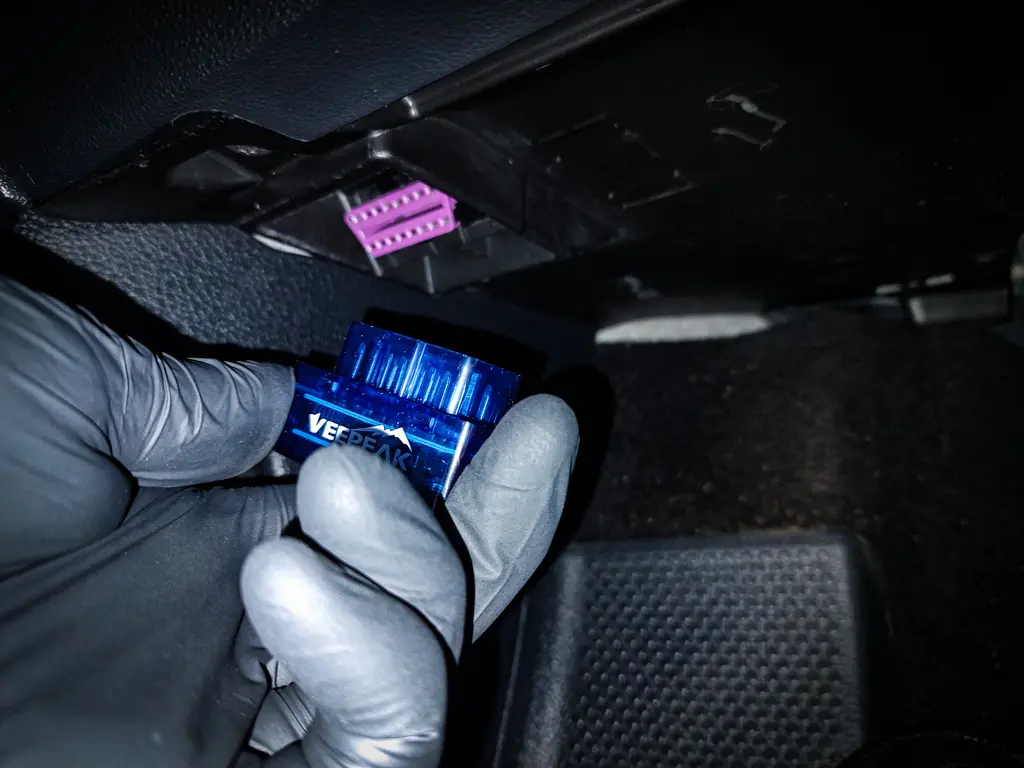
Every vehicle equipped with an OBD2 system has the DLC (data link connector), also called the OBD port.
The most common locations are either under the dashboard on the driver’s side or inside the interior fusebox.
2. Turn on the Ignition
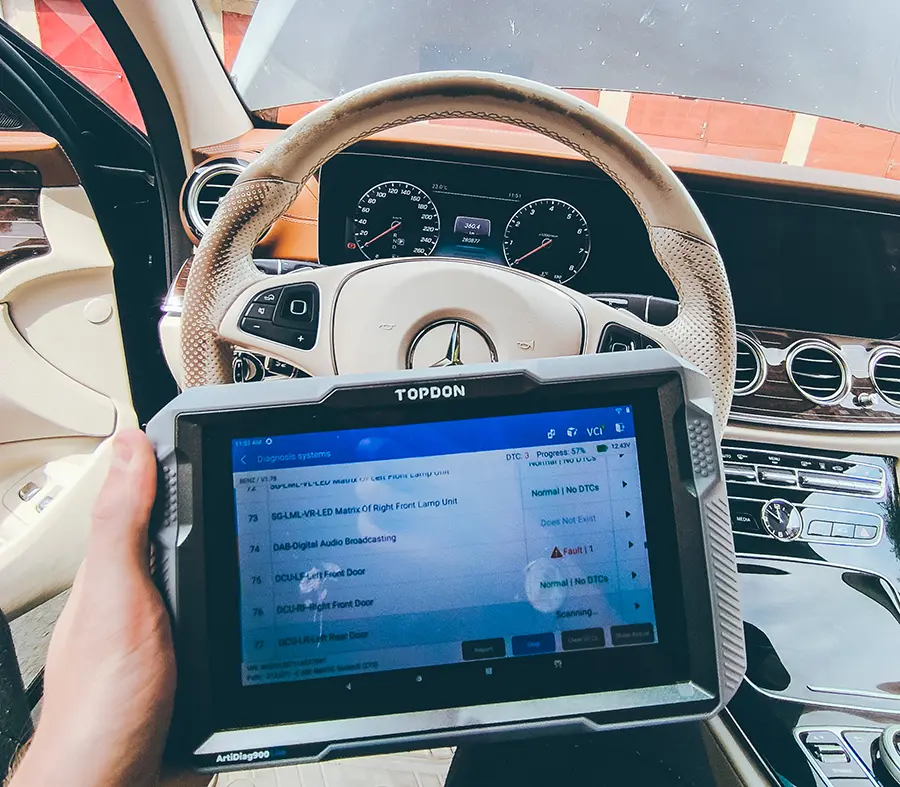
The running engine will be necessary for certain tasks like reading engine live data.
It can be turned off for scanning, coding, and other procedures, but the ignition always has to be ON.
(Ignition is ON when you see dashboard lights light up)
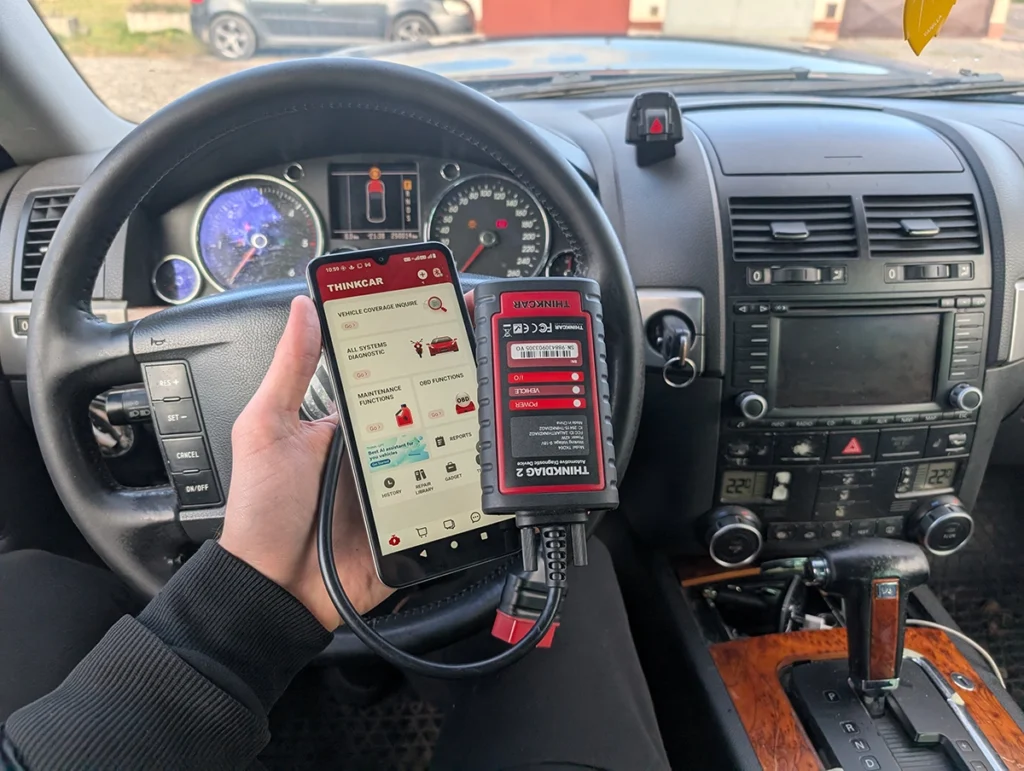
Now just connect the scan tool, and you are in your vehicle’s “secret chamber.” Most scanners won’t require any turning on/off; they will just start working right after being plugged in. Most of these tools do not have their own batteries, and they use power directly from your OBD port.
In case you run into connection issues…
There is OBD no communication fix guide (members only) on my website with several possible causes and recommended fixes.
When I had trouble connecting or using my OBD scanner, the fix was almost always as simple as turning the ignition ON. I sometimes forget this step and then wonder why my scan tool isn’t communicating.
How to use an OBD2 scanner to diagnose problems
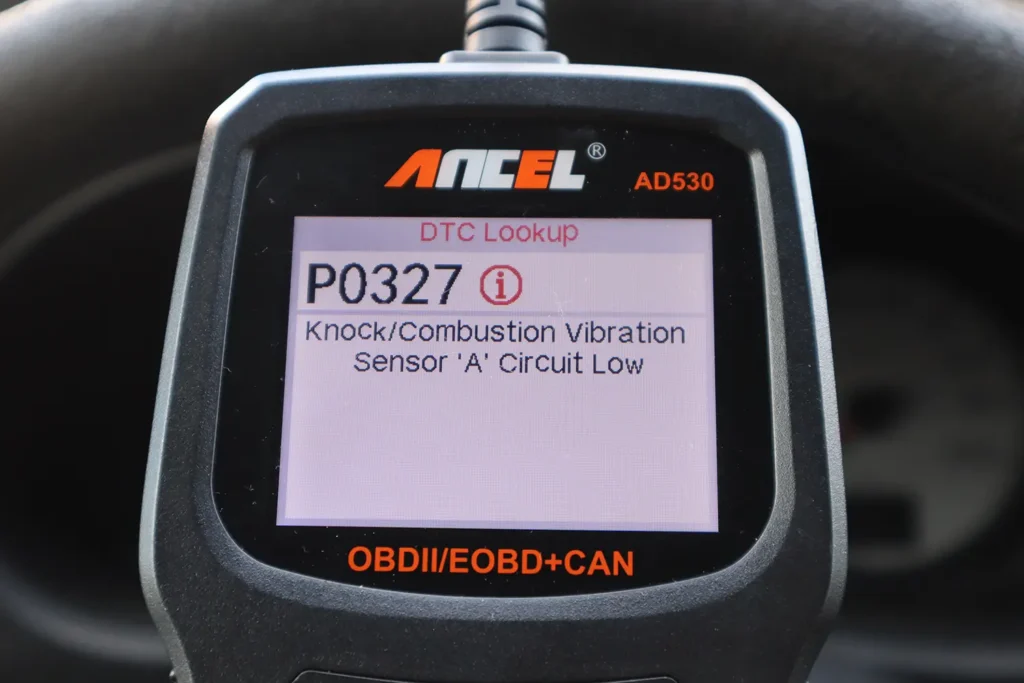
OK, now you have connected your OBD code reader or scan tool and want to diagnose faults. Whether you get some dashboard light, for example, the check engine light, or you experience any problem with your vehicle, the first step is always the same.
You always start by reading the fault codes from the vehicle. But there is a problem if you don’t regularly scan and erase your vehicle’s OBD2 codes. You will have a lot of codes stored, but many of them can be old and irrelevant. There is a simple procedure you can do to get rid of all irrelevant codes and leave only certain ones that you need to pay attention to.
How to read fault codes in 5 steps
I always read OBD2 codes only with the ignition ON, without the engine running. Connect your OBD scanner, and put the key in the first position where all the dashboard lights illuminate, but the engine still stays OFF.
Step 1: Read faults from the vehicle
Start by reading about the faults in your car. This is the key feature in every OBD scanner, and you will not have any trouble finding it. It is almost always the first option you see in your scanner. You will now get all relevant faults, but also old ones that weren’t erased after repairs and can be months or even years old. You don’t have to pay attention to which codes you are getting in this step.
Step 2: Erase all faults
Every code reader can also erase fault codes that were just scanned. Erase all codes that can be erased. Some static OBD2 codes cannot be erased. If you get one of them, you know that the code is relevant, and you need to fix the problem before the code can be cleared. That can be, for example, an airbag light due to broken wiring. The code cannot be erased unless you fix the wiring first.
Step 3: Drive the car
You erased all fault codes in the previous step. So you got rid of both relevant, but also old fault codes. Now it’s time to get back fault codes that represent real problems, and you need to pay attention to them. You can do this by driving the car for 1-2 days to get all the relevant codes back. If you dont want to wait that long, just take the car for a spin, but not all relevant codes will come back right away.
Step 4: Scan the car again
The relevant codes should be back after some driving. Now it’s time to scan the OBD2 system again and read relevant codes. Now you have your first diagnostic report, and now it’s time to understand what these codes are trying to tell you.
Step 5: Understand OBD2 codes
OBD2 codes are 5 or 7-digit messages that point out faults in your car processes. These digits are not random, and you can get some hints from these codes without having their meanings memorized.
I have codes, now what?
This is the hard part of diagnoses. What to do with trouble codes, how to fix them, and know what is wrong without changing parts randomly?
We have to use different scanner features for that and I cannot explain them all in one post, but I can give you my Book completely for free that will teach you how to do that.
Popular OBD2 guides
See all guidesBest OBD2 scanners in 2025
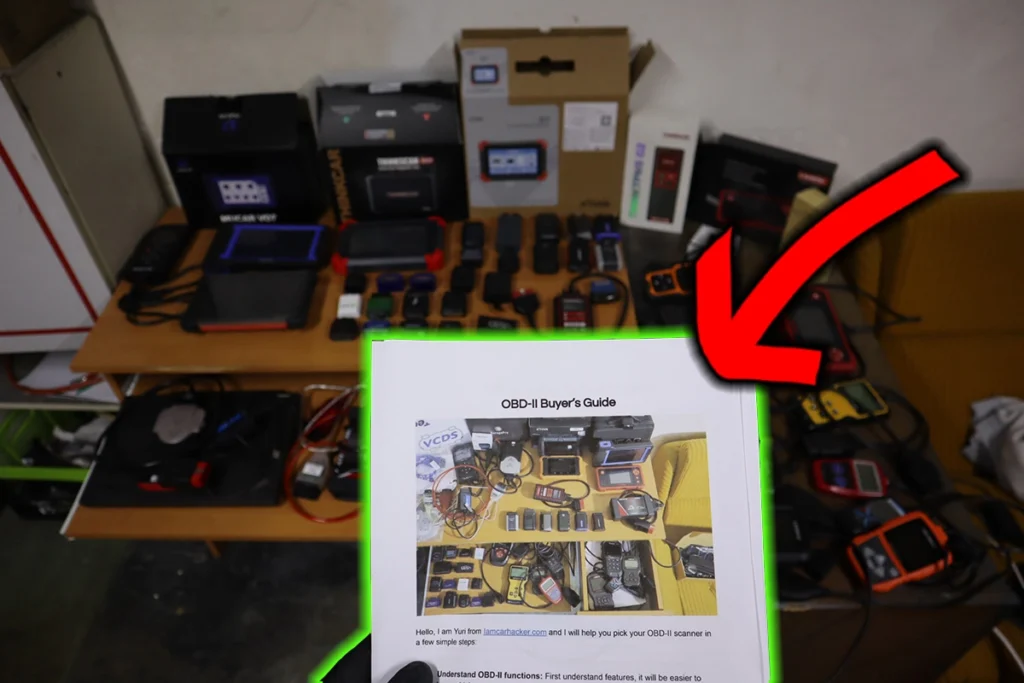
I constantly test new OBD-II scanners to give you the best options possible. Here is a full list of the best tools in all categories currently.

Responses